An oil change is a routine maintenance procedure that every car, new and old, requires – but it can be a daunting task for someone who has never completed one before. Oil changes, however, are essential – they reduce engine wear, promote longer engine life and provide necessary lubrication to ensure your car can function at peak efficiency.
And the best part about oil changes? You can do them yourself.
This might seem like an impossible task, but with the right preparation and understanding, you can save time and money while keeping your vehicle in optimal condition.
How to check oil in your car
Checking your car oil is a relatively easy process. First, ensure that your car is parked, turned off, and has time to cool down. You’ll be popping open the hood, so you don’t want to risk burning yourself on a hot engine.
Once ready, open the hood of the car and find the dipstick. Give it a quick wipe-down then insert it back into the tube completely. From here, remove the dipstick once again to assess where the oil line is – oftentimes, you’ll notice indicators on the dipstick letting you know if your oil level is high or low .
If the oil level is below the ‘low’ marker, then it’s time for an oil change. Additionally, if there are discrepancies in the color of the oil – if it’s milky or contains floating metal particles, it might be time to call in a professional.
Can you change the oil in your car yourself?
Yes, changing the oil in your vehicle yourself can be a cost-effective way to maintain your engine’s function without having to take it into a body shop or dealership. It might sound tricky at first, but with this step-by-step process, you can be sure you’re changing your oil safely and effectively.
What do you need for an oil change?
Once you’ve decided to change your oil yourself, it’s time to gather your tools. All these tools are common and can be easily found – in your garage or at a local store.
Tools include:
- Wrench
- Oil filter wrench
- Drain pan
- Funnel
- Gloves
- Jack (depending on the height of the car)2
In addition to the tools needed to get the job done, there are also some additional materials you’ll need to complete the work.
Of course, you’ll need the oil – depending on your vehicle, you’ll choose between full synthetic, a synthetic blend, conventional oil, and high mileage motor oil. You’ll also need an oil filter and a replacement drain plug washer.
Do you know what kind of oil you should use? Check out our helpful motor oil guide to find out.
How to do an oil change
1. Prepare your car
When you get started with your oil change, it’s important to prepare your vehicle and your area. This will require you to run your engine for a short time before you begin, ensuring your oil and engine are warm, but not too hot to burn.
This is also the time when you can utilize your jack if the clearance under the hood isn’t enough for you to fit underneath.
Next, you’ll want to remove the undercover which protects the engine’s oil drain plug and filter.
2. Locate the filter & drain plug
Now that you have access to the area, you’ll want to locate the filter and drain plug. Some cars have the plug and filter close together, while others have them farther apart. You also might have a top-mount cartridge filter, which requires an additional step to remove the filter. But it’s best to first get eyes on the area so you can continue.
Before the next step, make sure you check the area for leaks as this could signal bigger issues.
3. Unplug & drain
Now it’s time to dive in. Make sure you have your bucket ready to capture the old oil and get started opening.
Start by using your wrench to remove the drain plug slowly. As you remove the plug, make sure to keep a hold on it as the oil starts to drain. This process can take a few minutes, so it’s important to be patient.
4. Remove old filter
The next step in the oil change process is removing the oil filter – this is the cylindrical element connected to the engine. Here is where you’ll likely use your filter wrench to slowly remove the filter – oil will drain, so don’t be alarmed.
Once all oil has drained, you can now fully remove the old filter and begin with the new replacement.
5. Replace drain plug & filter
Before adding the new filter, it’s time to turn back to the drain plug and replace it. Make sure the plug is tight, but not too tight to cause damage.
Now, move to the filter. First, check the area to ensure the old oil filter gasket wasn’t left behind. This rubber ring prevents leaks and could make it impossible for the new filter to properly fit if left in.
Coat the filter with a thin layer of oil before you begin screwing the filter back in. Again, don’t tighten too much.
6. Add new oil
One of the final steps in the oil change process is adding the new oil.
Once you’ve reinstalled your undercover, it’s time to re-prepare your car. If you’ve lifted the vehicle, bring it back down to the ground so you can access the hood.
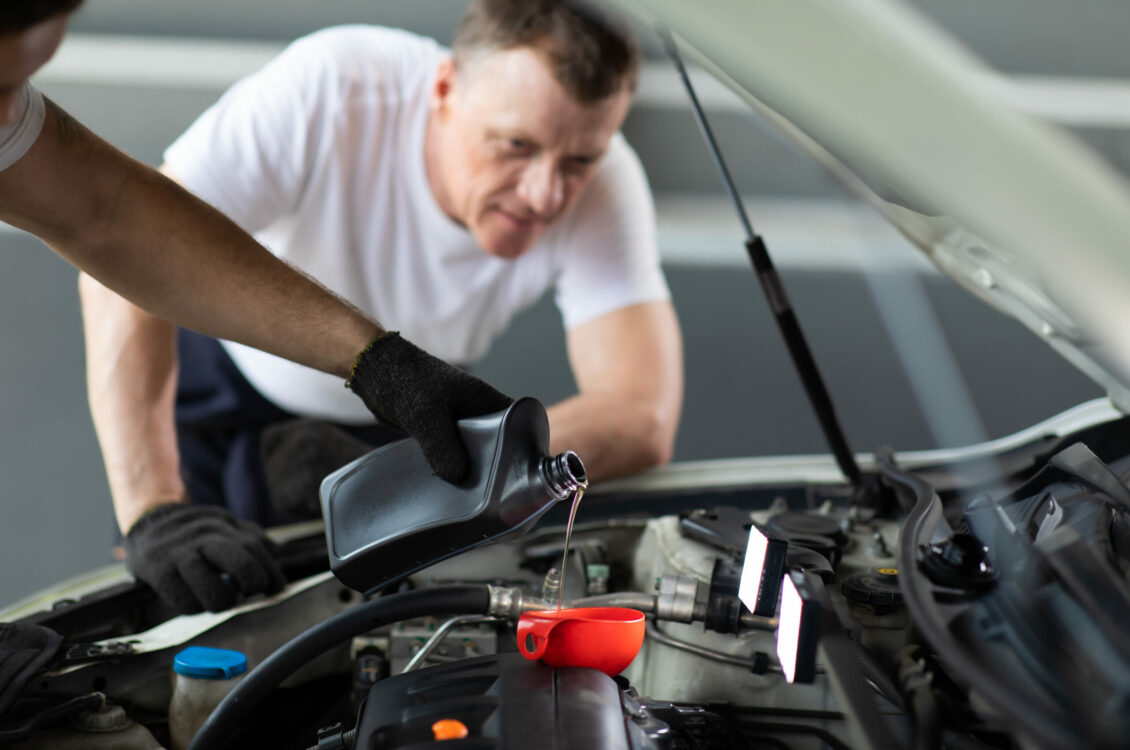
From here, you’ll find the oil cap, remove it, and use a funnel to fill the engine with the right amount of oil.
7. Test new oil
Now it’s time to test the oil level. Using the technique used to initially test the oil, check to see if the new oil is now within the right levels. When it is, you’re done. All that’s left is to dispose of the old oil – and that’s it3.
How long does it take to change oil?
For a seasoned professional, the oil changing process can take anywhere from 30 to 45 minutes4. For a first-timer, an oil change takes between an hour to an hour and a half. But with practice, you can see yourself well on your way to a quicker turnaround time.
How often should your oil be changed?
There are many different schools of thought when it comes to when you get your oil changed. Some say every 3 months of 3,000 miles, whiles others say to wait until 7,500 to 10,000 miles5. However, to know for sure, reference your car’s owner’s manual for what the manufacturer recommends.
But the length of time between oil changes also depends on the type of oil used.
Most oil types last between 7,500 to 10,000 miles, but synthetic oils can last much longer, all the way up to 15,000 miles6 between changes.
Routine car maintenance is important
Oil changes are important, and they’re easier than you might think. But changing your car’s oil is just one aspect of vehicle maintenance – and all are vital for safe, effective, and efficient performance. Making car maintenance a routine part of your vehicle lifecycle will ensure it stands the tests of time – explore these additional car maintenance tips to get started.
If car maintenance isn’t enough, it’s important that you’re covered under a comprehensive auto insurance policy catered to your unique needs. Get your insurance quote from Nationwide today.
1https://www.firestonecompleteautocare.com/blog/oil-change/how-to-check-your-oil/, Accessed September 2021.
2https://www.consumerreports.org/car-maintenance/things-to-know-about-oil-changes-for-your-car-a9532249359/, Accessed September 2021.
3https://www.caranddriver.com/features/a28246625/how-to-check-engine-oil/, Accessed September 2021.
4https://www.toyotaofdanvers.com/how-long-does-an-oil-change-take-danvers-ma, Accessed September 2021.
5https://www.consumerreports.org/car-maintenance/things-to-know-about-oil-changes-for-your-car-a9532249359/, Accessed September 2021.
6https://www.oxmoortoyota.com/service-center-home/service-tips/how-often-to-change-synthetic-oil/, Accessed September 2021.
Disclaimer:
The information included is designed for informational purposes only. It is not legal, tax, financial or any other sort of advice, nor is it a substitute for such advice. The information may not apply to your specific situation. We have tried to make sure the information is accurate, but it could be outdated or even inaccurate in parts. It is the reader’s responsibility to comply with any applicable local, state, or federal regulations. Nationwide Mutual Insurance Company, its affiliates and their employees make no warranties about the information nor guarantee of results, and they assume no liability in connection with the information provided. Nationwide, Nationwide is on your side, and the Nationwide N and Eagle are services marks of Nationwide Mutual Insurance Company. © 2021 Nationwide.