The dirtiest items in your home might not be what you think. Beyond just dirt and grime, germs can also build up in out-of-the-way areas in your kitchen, bathroom and even your office. Check out the slideshow below for the top 10 places in your home that you might not clean, and get house cleaning tips on how to sanitize your space in no time.


How to clean vacuum filters
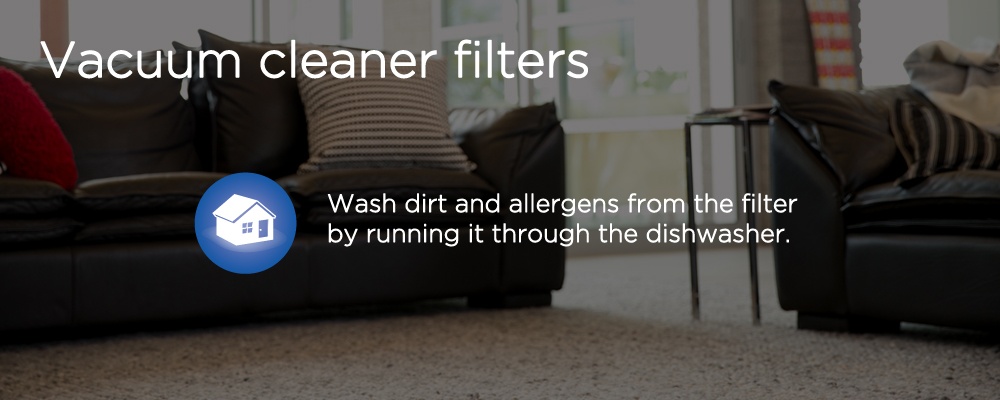
A clean filter keeps your vacuum from losing suction. Having a clean filter can play a big part in keeping a home clean. Typically, vacuum cleaners will have at least one washable filter. You can locate the filter either by using the manual or looking for labels often found on the vacuum. Next, remove the filter and take it outside to avoid getting your home dirty. Tap it against a hard surface to eliminate any remaining dust. If your filter is washable, give it a rinse with lukewarm water and set the filter out to air dry for at least 24 hours before placing it back into your vacuum. If your vacuum has additional filters that aren’t washable, tap them against an appropriate surface to remove debris before putting them back in the vacuum. [1]
How to clean garbage cans
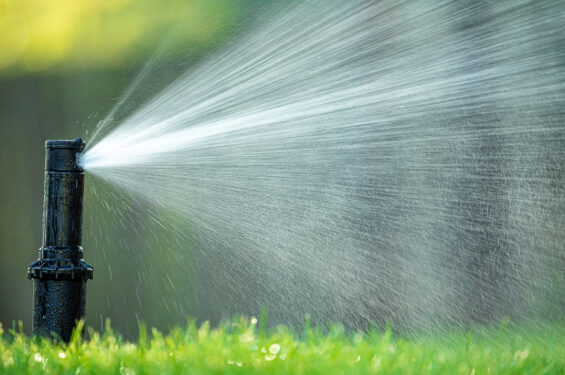
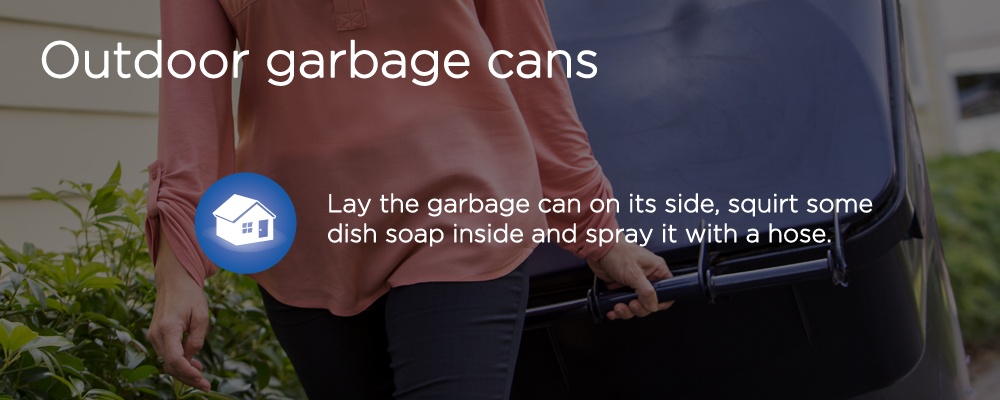
Regularly cleaning your garbage can will help keep unpleasant odors from lingering in your home. Start by mixing 1 cup of water with 1 cup of a liquid cleaning concentrate or by mixing 4 cups of white vinegar with ½ cup of white dish soap and water. Remove any left-behind pieces of trash or food at the bottom of your can and then spray the inside and outside of the can with your solution. Include the trash can lid if you have one. Then use a nylon brush to scrub away any built-up grime.
To get rid of those particularly stubborn spots, add more solution or a few drops of dish soap, or baking soda and water. If you’d like, you can spray your can down with disinfectant and let it sit for 5 minutes. Next, rinse out your trash can until the water runs clear and allow it to dry in the sun. [2]
How to clean remote controls
As a high-touch surface, remote controls can quickly accumulate dirt and debris. Before you begin cleaning your remote, remove the batteries. After that, turn the remote so the buttons are facing the ground and give it a good shake or some taps against your palm to loosen any debris that may be stuck between the keys. You can remove additional dirt by giving the remote a blast with an air canister if you happen to have one. Then, use a paper towel, wipe or disposable cloth dampened with solution to gently clean the remote’s outer shell. Clean harder to reach areas using a cotton swab moistened with disinfecting solution, and remove remaining deeply lodged debris with a toothbrush or toothpick. [3]
How to clean vents
You can improve the quality of the air in your home by cleaning your air vents on a regular basis. First, you’ll need to turn your HVAC system off. Then remove your vents — some need to be removed with a screwdriver, while others can simply be pulled off. Next, grab your vacuum and use the hose to clean out the ducts. Use a duster or a cloth and remove any remaining dirt or dust from the vent cover. This can be done inside a trash bag to keep particles from flying into the air. After that, mix some warm water and dish soap in a bucket or your bathtub and soak your vents for up to 15 minutes. Dry off your vents using a towel before putting them back. Locate your furnace’s air filter and replace it if it’s dirty. [4]
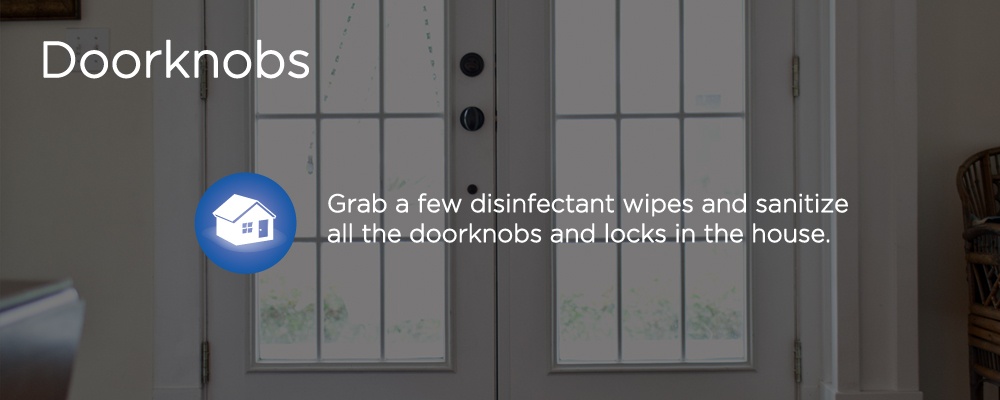
How to clean doorknobs
Doorknobs are another frequently handled surface in your home that can accumulate grease and dirt. Luckily, cleaning them is fairly fast and simple. Spray down the knobs with vinegar and then wipe them dry with a clean cloth. Baking soda can also be used to help remove odors or stubborn grime; however, it should not be used if your knobs are made from a material that will scratch or wear easily. You can also use disinfectant wipes to keep your knobs clean and germ-free. [5]
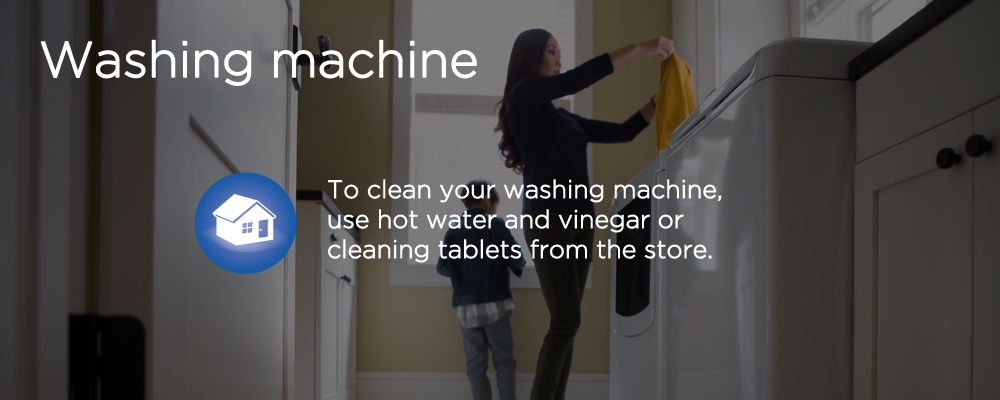
How to clean washing machine
While most front-loading machines offer a self-cleaning function, minerals and soap residue from detergents can build up in top-loading machines over time. This can prevent your clothes from getting as clean as they used to. There are number of things you can do to keep your washing machine working at its best, and you can get your machine as clean as new in a few easy steps.
Fill your empty washing machine with a large load’s worth of hot water. Then add a quart of bleach and mix it with the water by running the machine for 1 minute. Open the top and let it sit for an hour. After that, shut the machine and let it run a full cycle. Now fill the washer again with hot water and add a quart of white vinegar. Run the machine for a minute, open the top and let the mixture sit for an hour before completing the cycle. Mix equal parts vinegar and water solution and spray down and wipe the exterior and dispensers. [6]
How to clean sponges
It’s no secret that sponges can harbor some pretty nasty germs over time. You should get rid of worn sponges every 2 to 3 weeks and give them a good cleaning weekly. Here are 4 ways to get your sponges clean [7]:
Soak in bleach
Mix ¾ cup of bleach with 1 gallon of water. Soak the sponge for 5 minutes and then rinse.
Use the microwave
Get your sponge wet and heat it on high for 30 seconds to 1 minute in the microwave. Be careful when removing as the sponge may be quite hot.
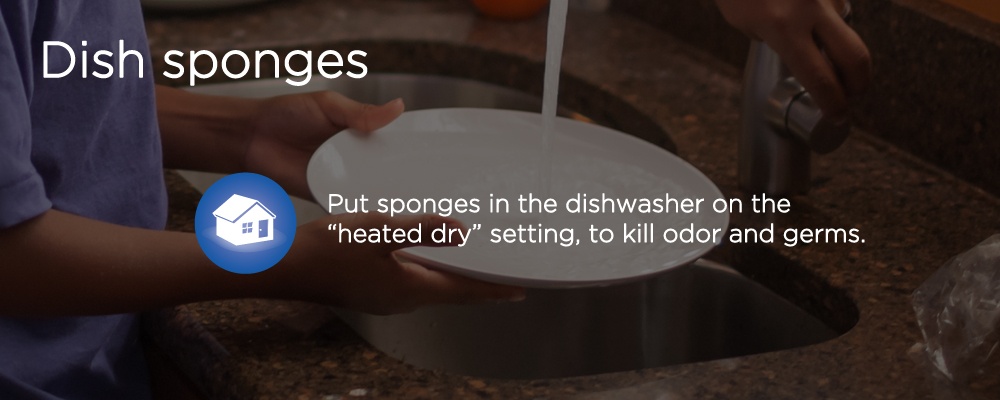
Put them in the dishwasher
Simply add your sponge to a normal load and use the “heated dry” setting.
Soak them in vinegar
Soak your sponge in full-strength vinegar for 5 minutes and then rinse.
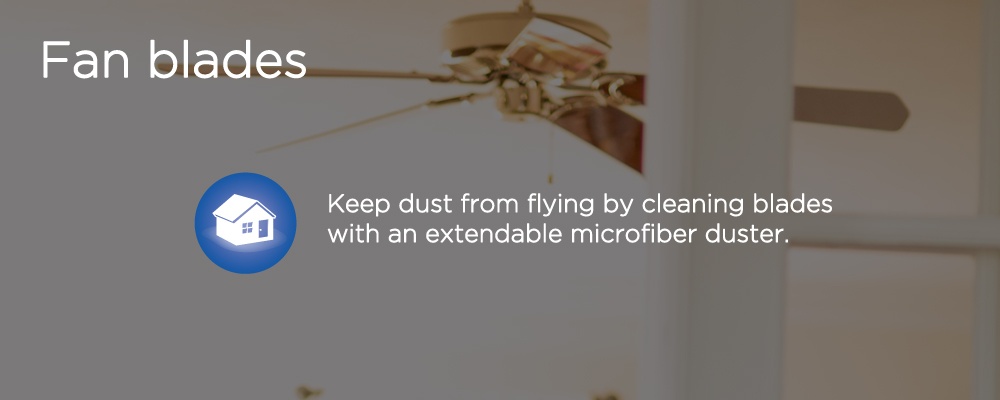
How to clean ceiling fans
Cleaning your ceiling fans regularly can help them run more smoothly. Before cleaning, shut off your fan. Grab a sturdy ladder or step stool to stand on. Then you can clean the blades of your fan by using an old pillowcase and inserting it over the fan blades. Pull the pillowcase away to remove any dust and debris without it getting all over everything below your fan. Empty the pillowcase outdoors by turning it inside out and shaking it.
After that, you can wash the pillowcase in the laundry. If your blades have a lot of buildup, you might wish to wipe them down with a mild cleaner and cloth. If your fan has any glass globes, carefully remove them and wash them in warm, soapy water. Dry them thoroughly and then return them to the ceiling fan. Then use a microfiber cloth to wipe down the lightbulbs. Remove dust and dirt from your pull chain and motor with a cloth. Spray small amounts of compressed air to get rid of remaining dust in the motor housing. [8]
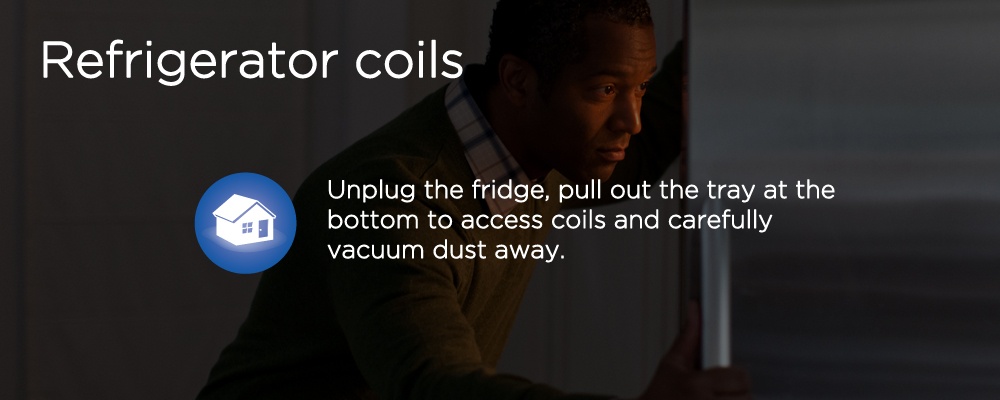
How to clean refrigerator coils
Did you know that cleaning your refrigerator coils can help your refrigerator run at its best? Here’s how to clean them in a few easy steps [9]:
- First, carefully, pull the refrigerator away from the wall. Get help if needed.
- Unplug the refrigerator.
- Find the coils. They should be either on a grid attached to the back of your fridge or at the bottom. Coils on the bottom will usually have a grate in front that can be removed.
- Now use the brush attachment on your vacuum cleaner hose to clean out the coils. Your crevice tool might also help, and there are even vacuum attachments you can get that are specifically made for refrigerator coils. Take your time and be careful not to break the coils by applying too much pressure.
- Vacuum any other hard-to-reach areas around the fridge, such as the floor where it normally sits.
- You can use a paintbrush to remove any remaining debris.
- Vacuum any loose dirt that was knocked onto the floor while cleaning.
- Replace the front plate if your coils came from the bottom of your fridge. Then push your fridge back into place and plug it back in.
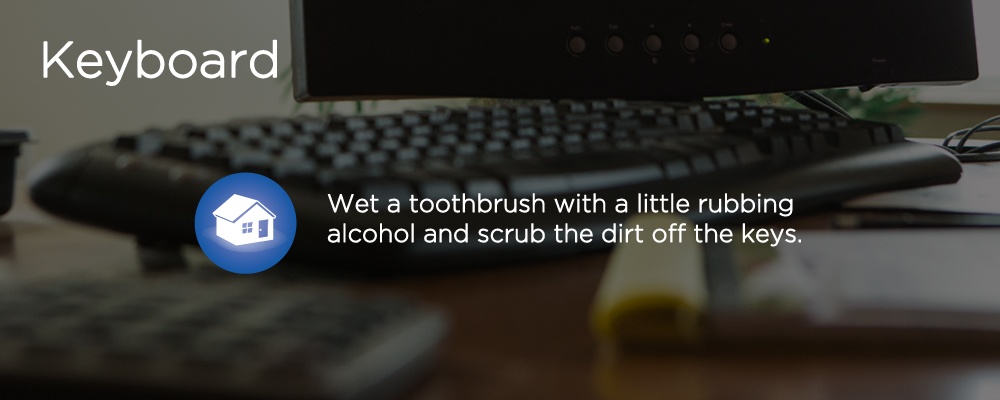
How to clean keyboards
When was the last time you cleaned your keyboard? If you can’t remember, then odds are it’s time to break out the disinfectant and get to work. These are some methods to help you get your keyboard looking and feeling brand new [10]:
- Unplug your laptop or keyboard and make sure it’s completely powered off.
- Turn your laptop or keyboard upside down over a trash can and pat the back to shake out any dirt or debris.
- Use a can of compressed air and blow in a zigzag motion at a 75-degree angle, hitting all 4 sides of your keys.
- Look for crumbs and dust lodged between the keys and dislodge them using short bursts of air.
- Take a disinfectant wipe or a cloth lightly moistened with rubbing alcohol and wipe down the keys, buttons, hardware and keyboard surface.
- Pop off the keys (if your keyboard model allows for it) by using a flathead screwdriver or butter knife. Then remove any dust or gunk using a cotton swab or toothpick, or soak the keys in soapy water or wipe them with a disinfectant wipe. Let the keys dry before adding them back to the keyboard.
- If your keys aren’t removable, take a small piece of tape and fold it in half with the sticky side up. Then slide the tape underneath the keys, moving it back and forth to pick up dust.
- Use a small vacuum cleaner attachment to draw out any remaining debris.
How to clean garbage disposals
When you keep your garbage disposal clean and working seamlessly, it makes tidying your kitchen a little bit easier. There are a few ways to clean your garbage disposal; this is but one method to clean your garbage disposal step-by-step [11]:
- Shut off your garbage disposal and disconnect it from the power source. Flip off the circuit breaker if necessary. Then test the power switch to make sure there is no power to the disposal.
- Check the drain using a flashlight to be sure there isn’t anything trapped in the grinder. Use tongs or pliers to remove any objects.
- Reconnect your disposal and plug the sink. Fill the sink halfway with hot water. Remove the plug and turn on the disposal until all the water has run through.
- Turn the disposal back off and disconnect it from the power source again.
- Grab a long-handled scrub brush or old toothbrush to clean inside the disposal using a small amount of dish soap and warm water. Move the brush around and scour all the surfaces.
- Take the brush out, reconnect the disposal and flush it again with hot water.
- Dump 2 cups of ice and 1 cup of kosher or rock salt into the disposal. Then turn on the disposal and run some cold water while the ice cubes are being ground.
For more DIY cleaning tips on cleaning your home, check out these spring cleaning hacks.
Sources:
[1] “How to clean your vacuum cleaner,” www.goodhousekeeping.com/uk/house-and-home/household-advice/a672278/how-to-clean-your-vacuum-cleaner/, Accessed March 2022.
[2] “How to Clean and Disinfect a Garbage Can,” Ashley Abramson, www.apartmenttherapy.com/clean-garbage-can-36753623, Accessed March 2022.
[3] “How to Clean and Sanitize Your Remote Controls,” James K. Willcox, www.consumerreports.org/remote-controls/how-to-sanitize-your-remote-controls-a1090810463/, Accessed March 2022.
[4] “How to Clean Your Air Conditioner Vents,” www.moncriefair.com/blog/how-to-clean-your-air-conditioner-vents/, Accessed March 2022.
[5] “Cleaning the Doorknobs,” maidsailors.com/blog/cleaning-tip-dont-forget-the-doorknobs/, Accessed March 2022.
[6] “How to Clean a Washing Machine,” Emily Fazio, www.hgtv.com/lifestyle/clean-and-organize/how-to-clean-your-washing-machine, Accessed March 2022.
[7] “How to Clean a Sponge and Kill Bacteria,” Lauren Smith McDonough, www.goodhousekeeping.com/home/cleaning/a18731/how-to-clean-a-sponge/, Accessed March 2022.
[8] “How to Clean a Ceiling Fan,” homedepot.com/c/ah/how-to-clean-a-ceiling-fan/9ba683603be9fa5395fab901432cec8c, Accessed March 2022.
[9] “How to Clean Refrigerator Coils,” Courtney Craig, www.apartmentguide.com/blog/how-to-vacuum-refrigerator-coils/, Accessed March 2022.
[10] “Laptop keyboard an icky mess? How to clean off dust, crumbs, and goo,” Katie Teague, www.cnet.com/tech/computing/laptop-keyboard-an-icky-mess-how-to-clean-off-the-dust-crumbs-and-goo/, Accessed March 2022.
[11] “How to Clean a Garbage Disposal,” www.homedepot.com/c/ah/how-to-clean-a-garbage-disposal/9ba683603be9fa5395fab90b93e46d3#, Accessed March 2022.
Disclaimer:
The information included is designed for informational purposes only. It is not legal, tax, financial or any other sort of advice, nor is it a substitute for such advice. The information may not apply to your specific situation. We have tried to make sure the information is accurate, but it could be outdated or even inaccurate in parts. It is the reader’s responsibility to comply with any applicable local, state, or federal regulations. Nationwide Mutual Insurance Company, its affiliates and their employees make no warranties about the information nor guarantee of results, and they assume no liability in connection with the information provided. Nationwide and the Nationwide N and Eagle are service marks of Nationwide Mutual Insurance Company. © 2022 Nationwide